Tuesday, July 30, 2013

It's the most wonderful time of the year.....

I know you may think I'm losing my mind, but lets face it- - - it's TRUE. 
Who doesn't get excited about new school supplies and FUN classroom decor. 
I love letting my inner organizista and craftista shine. 

So today on my way home from a lunch date with Josh I stopped at Wal-Mart for some printer paper, but of course some other things were just calling my name........clearly you'll understand why I couldn't pass them up. 
                      
From my blog stalking, I know that everyone is loving the 3 drawer organizer as am I. 
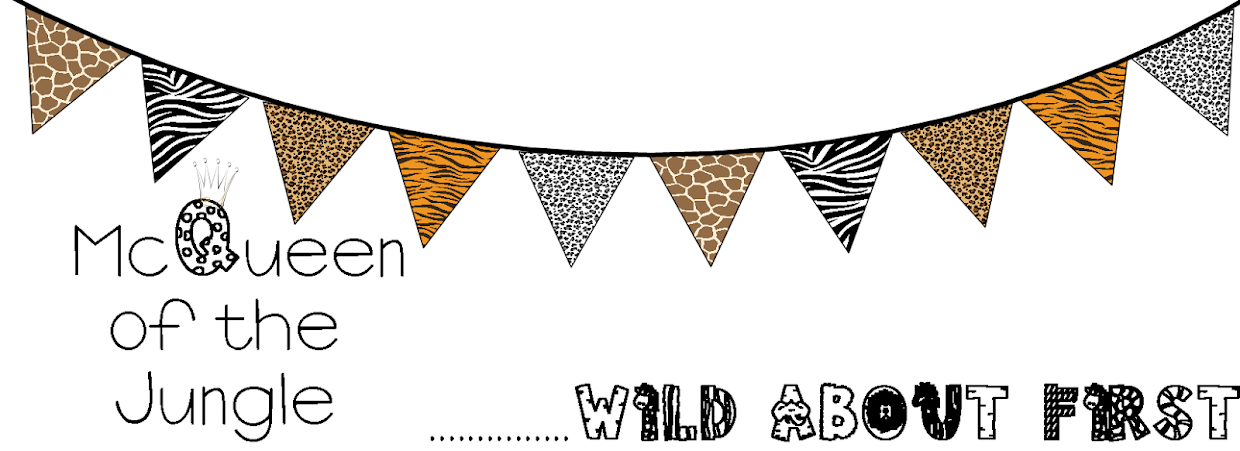
I am going to create and print some super cute labels (jungle themed of course) and attach to the front of the drawers....COPY, GRADE, and FILE
My favorite purchase of the day was the Photo Booth Props. I was thinking that on each student's birthday we could take a silly class photo. The birthday student will get a copy of their photo and then it can also be added into the end of the year slide show.
As you can see I bought a folding table today too. I love that it is black. I was thinking that I could use the crate seats I made last summer to go with this. I love that fact that if I'm not using it I can easily fold it up and store it.


I have to let you all know that I have the BEST FRIENDS in the world. One of my besties Christy, bought me these cute little mats. Can you believe they are bath mats? They are perfect for when students are working around the classroom and are out of their seats. Students will have their own fun little space. If you work with younger students these would be perfect for budding reading spaces. Older students can use them for independent work. 
                                             

Monday, July 29, 2013

Made-It Monday

What better way to reenter blog-land.....
I'm back linking- up with a Made-It Monday post

I know I keep saying that and blah, blah, blah..........
You have to trust me this time. Sometimes life gets too busy and we prioritize. Unfortunately my blog was put to the bottom of that list. I have decided that it needs to move on up! When I set my mind to something it happens. I also have a little feeling that some good things are going to be happening in my life in the near future. If my dreams come true I will have so much to blog about you'll wish I was on vacation. SO I am back at it officially!

Today's fun is going to be a DIY welcome sign.  It is super easy and fast to make. The best part is you can make it to match your theme or use any word/saying you like. 


Supplies needed:

Wooden letters that spell out the word welcome (or your word of choice)
Scrapbook paper or material in any desired print
Spray adhesive
Scissors
Marker
Small Screw Eyes 1/2 X 1/2"
Clear fishing line
Ribbon 
Mod Podge (optional)


Steps to create:

Step 1: Lay the wooden letters face down with the backside facing up on the scrapbook paper or material and outline with a marker.
Step 2: Cut out the letters and place them on the wooden letters to check sizing (Your wooden letters should now be turned to the front side). Make any adjustment cuts needed then lay the cut-outs to the side.
Step 3: Spray the wooden letters with spray adhesive and place the cut-outs on top pressing firmly so it sticks. 
Optional Step 4: Coat the letters with Mod Podge and allow to dry.
Step 5: Attach the Small Screw Eyes to the tops and bottom of each letter (the last E only needs attachments at the top).
W-4
E-3
L-2
C-2
O-2
M-4
E-2
Step 6: Use the fishing line to attach the letters to each other. In the picture above I used a small ribbon, but I'm going to change it to clear fishing line so it looks cleaner.
Step 7: Attach ribbon to the top of the W for hanging purposes. I'm going to add a bow or something to the top to jazz it up as well. However, if you prefer you can use fishing line instead.